So, several months ago, my friend directed my attention to a course the National Theatre was doing for young people, teaching the basics of special effects make up for the stage. It consisted of four, three hour sessions costing £50 overall (which I considered a valuable investment, cos National Theatre).
It was run by Helen Casey, the deputy head of Wigs and Make up at the National Theatre, who totally worked on the make up in Frankenstein, starring Benedict Cumberbatch, which means I've met a lady who's met him, which is exciting for me, I'm sorry.
There was an application process, which was fairly simple and I assume there to make sure the people applying were serious. I got through (yay!), then had to deal with an arduous phone call where I was on hold for like half an hour, where I was then told the course was full and the guy hung up and then I had to ring again and be on hold again and say 'I have a booking reference, geez'. It wasn't fun. BUT, that's totally besides the point.
The course itself was totally amazing, I learnt a whole lot, everyone was really friendly, Helen is a total inspiration and I had a bloody great time.
Photo taken by Ellie Kurttz for the National Theatre, Youth Programme
Here's me with Helen, which I feel looks like the perfect promo shot, fake blood on my face and all.
For the first session we had to do allergy tests of all the products we'd be using, so we couldn't apply any make up. So Helen took the opportunity to talk about various plays she'd worked on, and the practical issues of some of the make up. She started with showing clips from some plays performed at the National Theatre- Frankenstein, Antigone, King Lear and another play that I can't for the life of me remember the title of. For Frankenstein - her most recent project - she told us about the issues she had of keeping all the make up on, considering the play begins with the monster squirming around on the floor (which is actually an amazing piece of physical acting). She talked about actors sweating off make up, fake blood congealing, and fake vomit not tasting nice enough. She also told us her best recipe for fake vomit (orange juice, granola, and lemon curd). She then gave some advice about creating looks for certain characters and things to bear in mind, such as the time period, if any physical feature is mentioned in the actual script, age of the character, their lifestyle (health, class, if they're fashionable, etc) and then some more practical things to bear in mind such as quick changes and wounds inflicted in the script. It was fascinating. She finished with talking about observing real life injuries, and brought out her book of photos she has printed out of various wounds. It was pretty disgusting, but very important so as to be able to make your work look accurate. It's important to look at the original source, rather than another artist's work.

The next week we started with bruises and black eyes. The main thing you'll need to do this is Kryolan's 4 Colour SFX Wheel (the one for bruises), it has a purple, a yellowy tan colour, a yellow-green and a dark black-blue. One of the main things we're were told was to avoid our work looking like a pizza, as in too much, too symmetrical and too round. We were told to focus on a single, collision point, and then work from there. So I focused on the cheekbone, considering that's the bit that sticks out and is therefore more likely to be hit. I applied this with a mixture of different sized sponges (with varying sized holes) and my fingers. It was strange not using brushes, but it certainly works better not to with this kind of make up, considering you don't want it to look too neat, which I feel using brushes would do.
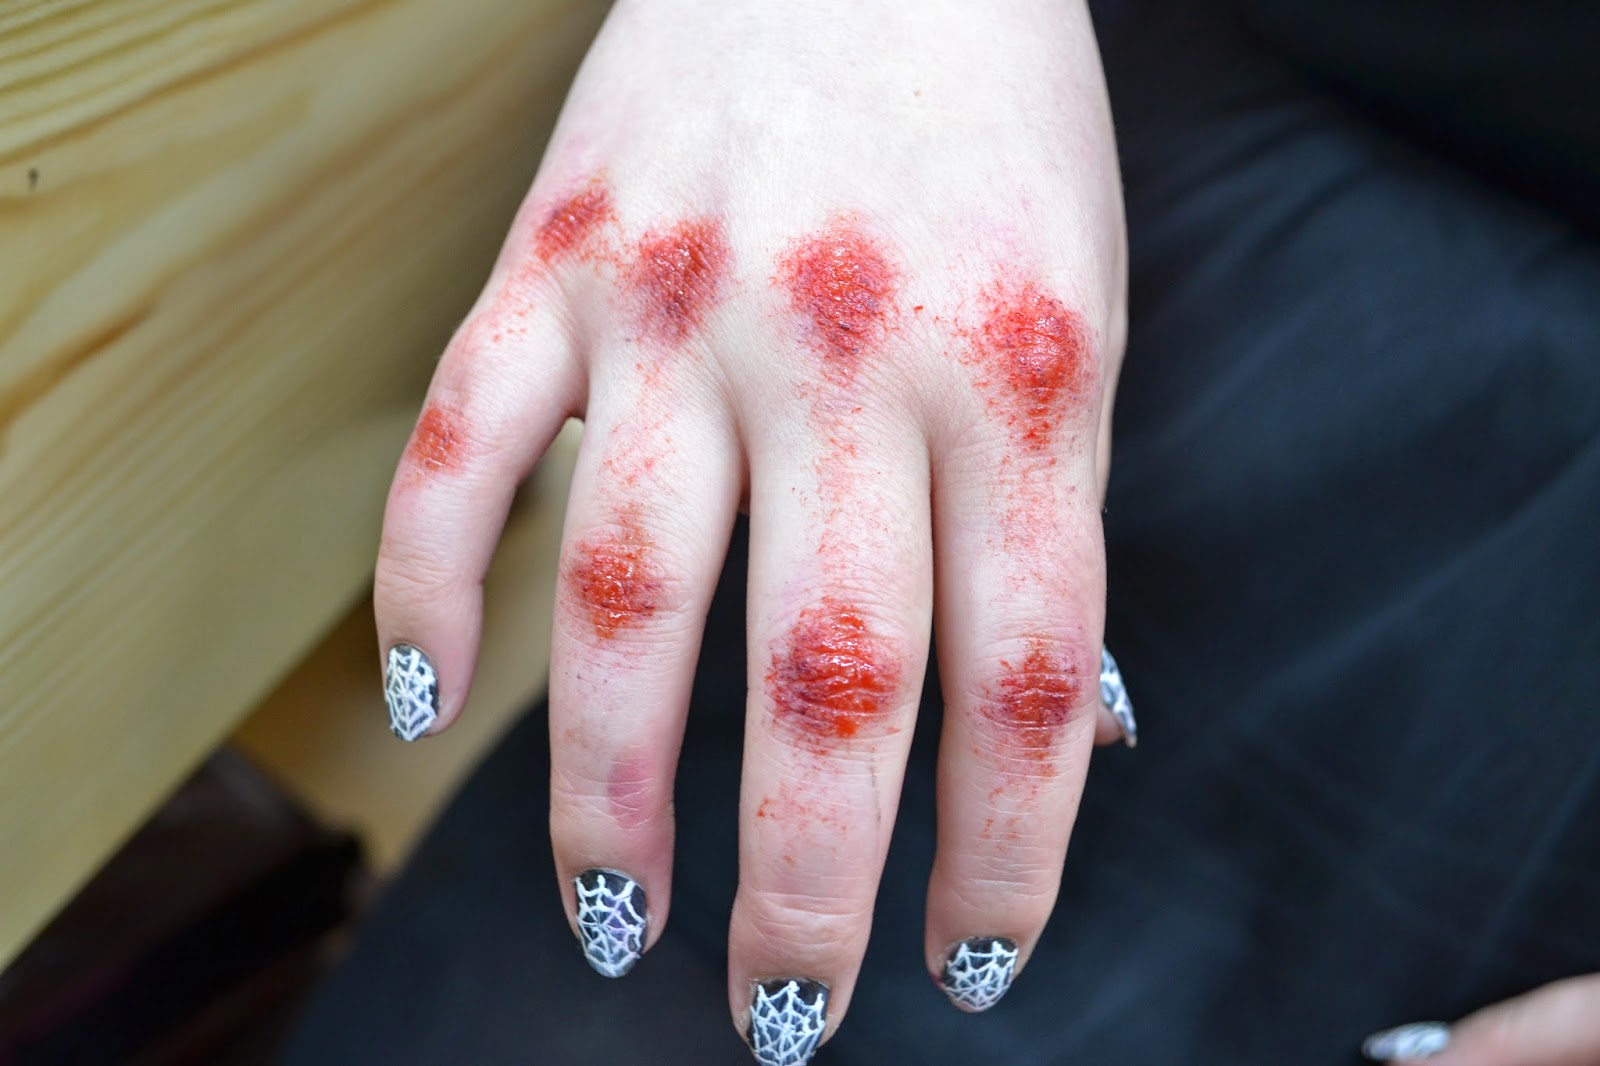
This is what the lady photographed above did on me, grazed knuckles, presumably from punching a wall. She used the same Kryolan colour wheel, GM Problood and GM Wound Filler and also applied it with different sized sponges. The wound filler is this weird jelly like substance that's a dark reddy-purple, which is pretty hard to apply, but looks really good (and by that I mean really disgusting, but life like). It mostly is there to mimic congealed blood in wounds, but also works really well as a colour to be sponged on various wounds.
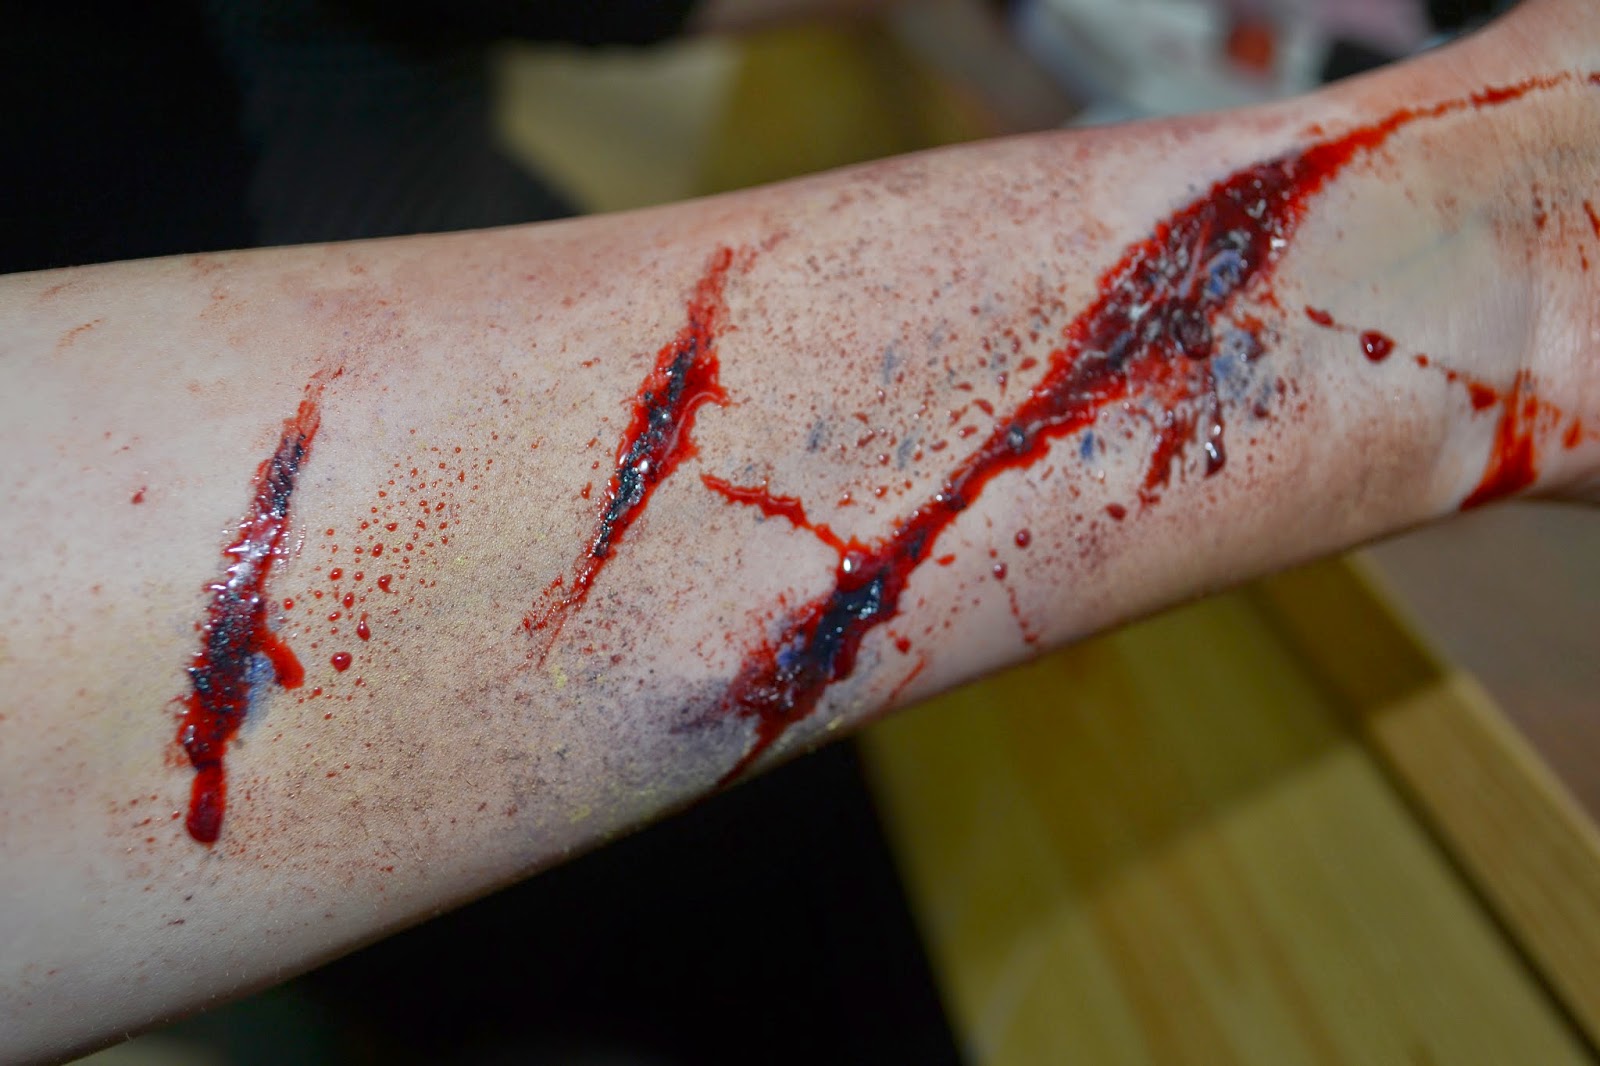
In the same session we also did cuts, where we had to use colour and tone to mimic depth in lieu of actual texture. These photographed a bit brighter than what it looked like in real life (I promise the blue didn't look that blue, it looked more black) and also, stage lights flatten colours a little, so brighter is better, so it will stand out on a stage. For this I used the same Kryolan colour wheel, fake blood and wound filler. As well as using sponges, I also used coffee stirrers (those slender wooden sticks you get in all coffee shops, weird, I know). I started by sketching out the shape of the cuts with a coffee stirrer and the dark blue from the Kryolan wheel. I then used the pale browny-yellow from the wheel to blend around the cuts, leaving a gap so there is a pale rim around them, making the cut look like it has more depth. I then piled on the wound filler, using a stick, making sure it looks like it's in the middle of a wound. Then I went back to the dark blue, with the stick, and applied the colour in the centre to add depth. I then poured in the fake blood, letting it naturally run down my arm, I then used a large-holed sponge to spread the blood about, making it real messy and gross.

In session three we started playing with gelatin, and boy is it fun. I used the vegetarian kind (being that I'm trying to cut down on meat, I felt this should count), and this was actually a good choice because it had a thicker texture, meaning that I could do some different things. The normal gelatin had a thinner texture and took longer to dry (which I observed from the other people using it). It did create a cool, crinkly texture that the vegetarian stuff didn't, though. You start with about four or five spoonfuls of boiling water to one spoonful of gelatin. You stir until it's nice and thick. I then just applied the gelatin to my hand using a plastic spoon and my fingers. I did a thin layer all over the back of the hand and fingers and then created thicker layers on the knuckles and where I wanted the cut to be. I then used the other end of the spoon to create the grooves, going right down to my skin. I then blasted a hair dryer at my hand for quite a while to dry it. I then used the dark blue from the Kryolan wheel to add darkness to the bottom of the grooves and also in the existing cracks of my fingers. I then globbed in the wound filler and then dribbled in some fake blood, letting it sink below the gelatin and seep into the surrounding area. I then used the Kryolan wheel to add extra detail to the surrounding areas and my fingers. I then applied some glycerine with a cotton bud to some areas to make it look like the skin is seeping delicious, delicious pus.
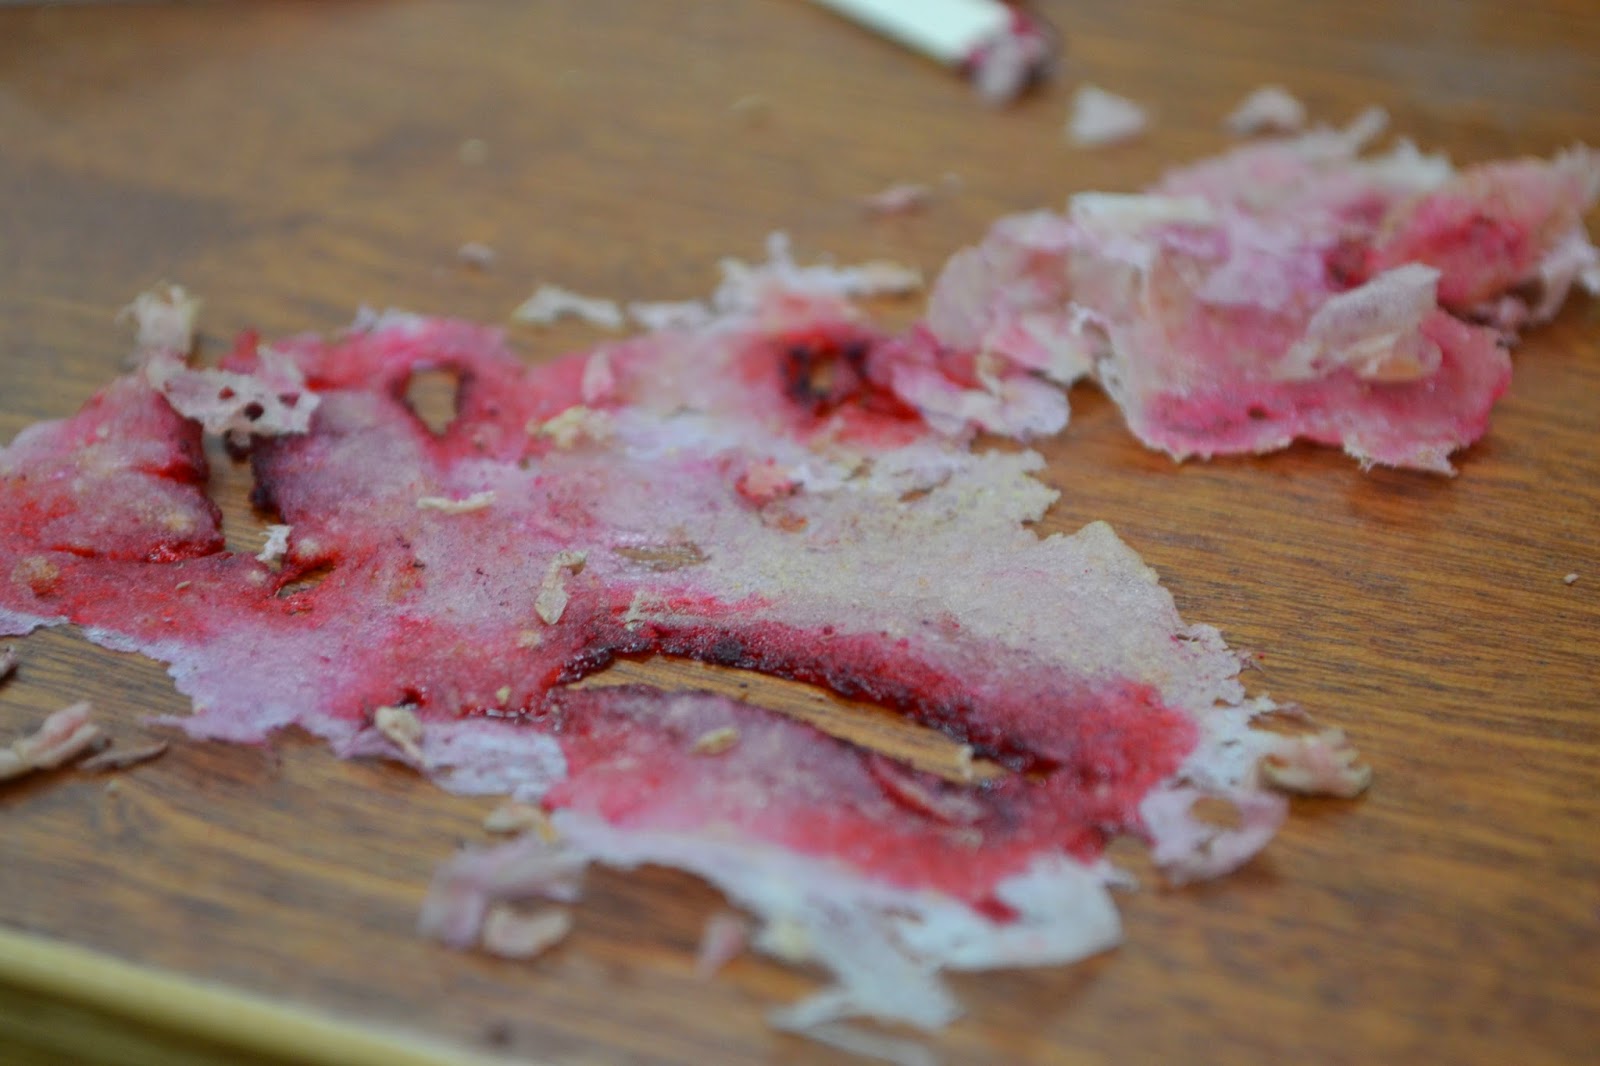
Here's a little added something, a photo of what the gelatin looked like after I peeled it off my hand. Pretty gross.
Another technique we were told was to add breakfast cereal to the gelatin for texture, as if you can eat something, it's not likely to irritate the skin. For this rash, I mixed crushed rice crispies into the gelatin. I just spread a thin layer over my arm, the cereal providing the the gross globules and the gelatin making the skin looked cracked and as if it's peeling. I then used a sponge, the colour wheel and wound filler for the colour.
I then used thin layers of the gelatin, building them up and drying them to create these blisters. Again using the colour wheel to add depth.
For this burn (?), I just wanted to experiment what a really thick layer of gelatin would look like. I think this turned out pretty cool. I'm also not sure if the redness on my arm is make up or my skin reacting to the heat of the hair dryer - worked though.
Photo taken by Ellie Kurttz for the National Theatre, Youth Programme
The last week we were told to do a large character-esque project, as they had arranged for a professional photographer to photograph our work for portfolios. They also had a set up, so that we could see what our work looked like under stage lighting, and also on camera, as they had a live feed from a camera being projected on a wall. This is what was done on my face by a lovely Estonian woman (who I did my piece on). I'll do a separate post on what my final project was. As a side note, how pensive do I look here, I'm deep, man, so deep.
Photo taken by Ellie Kurttz for the National Theatre, Youth Programme
Here's said woman drying the gelatin on my face.
Photo taken by Ellie Kurttz for the National Theatre, Youth Programme
And us and Helen, with another perfect promo shot, look at how much fun we look like we're having (we were having lots of fun).
Look out for the post on my final project, I'll write it at some point, depending on how much reading I have to do for Uni.


